My Profile Page
This is the page that displays all of the member profile fields. When your logged-in members view this page, they’ll find all their profile information (for ex- email, password, address fields, custom fields etc) displayed on this page. They can also update their profile information on this page.
Watch this video to see how-to create member-facing pages in DAP
Steps to create a Member Profile Page
1. Login to your WordPress admin dashboard.
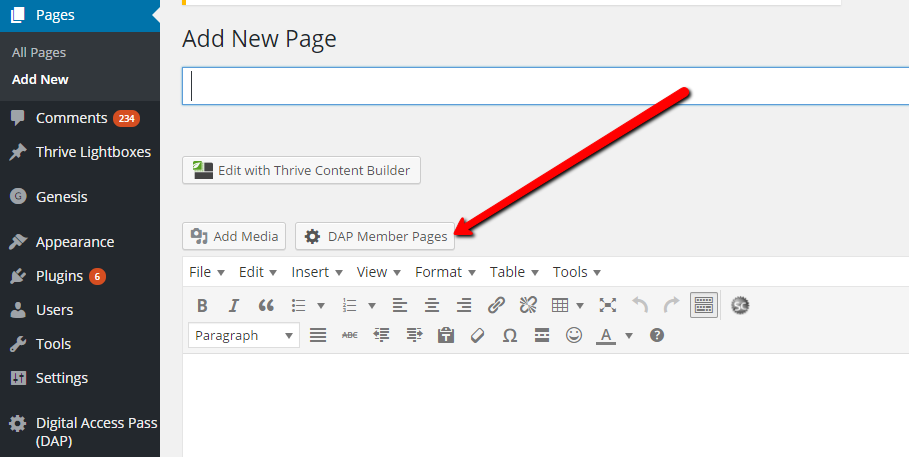
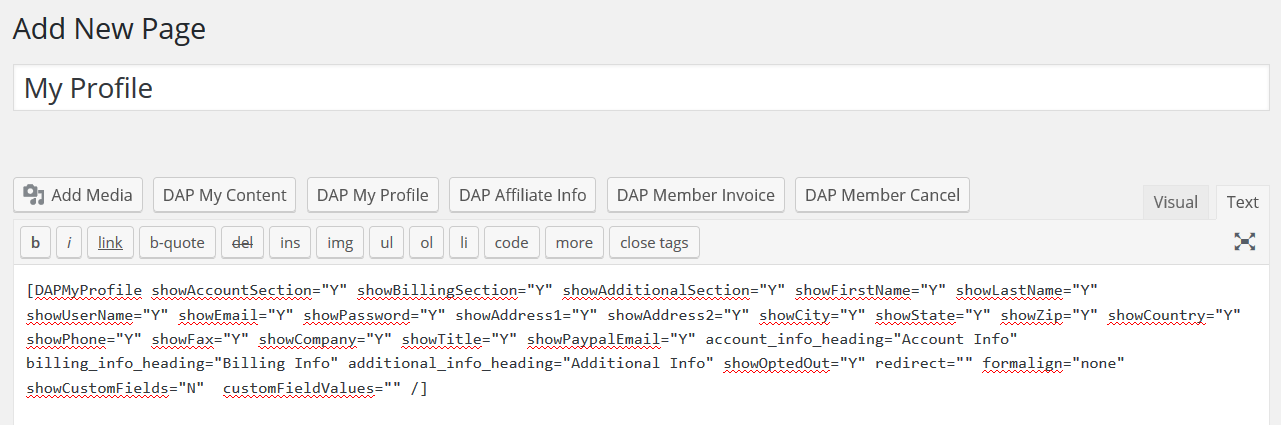
2. Create a new WordPress Page. Say you call it “My Profile”.
3. Now click on the “DAP Member Pages” button.
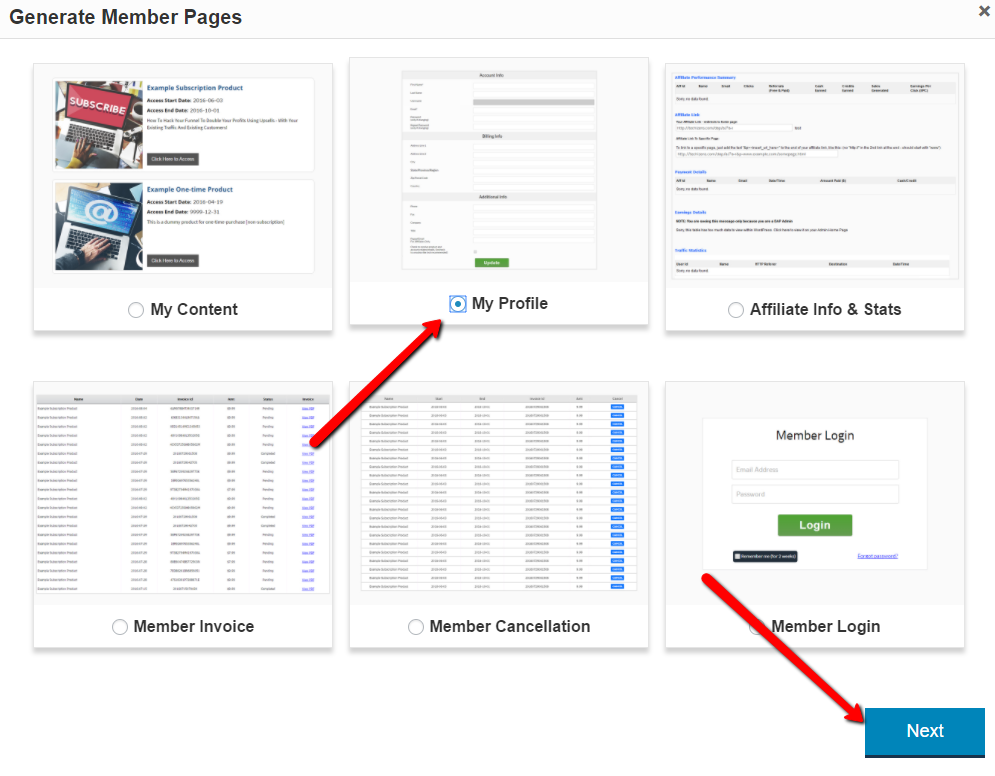
And then select “My Profile” and click on Next.
4. It’ll bring up an editor window where you can configure the fields that you want to display on the profile page.
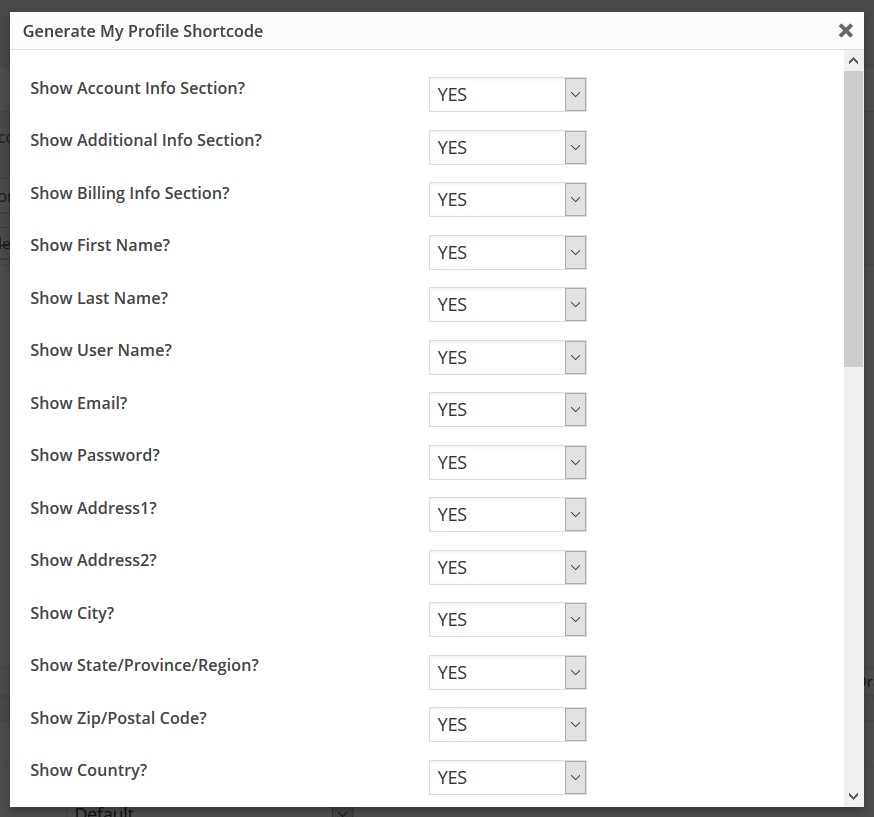
Just set the fields that you don’t want to display on the profile page to “NO”.
5. You can also select the custom fields that you to display.
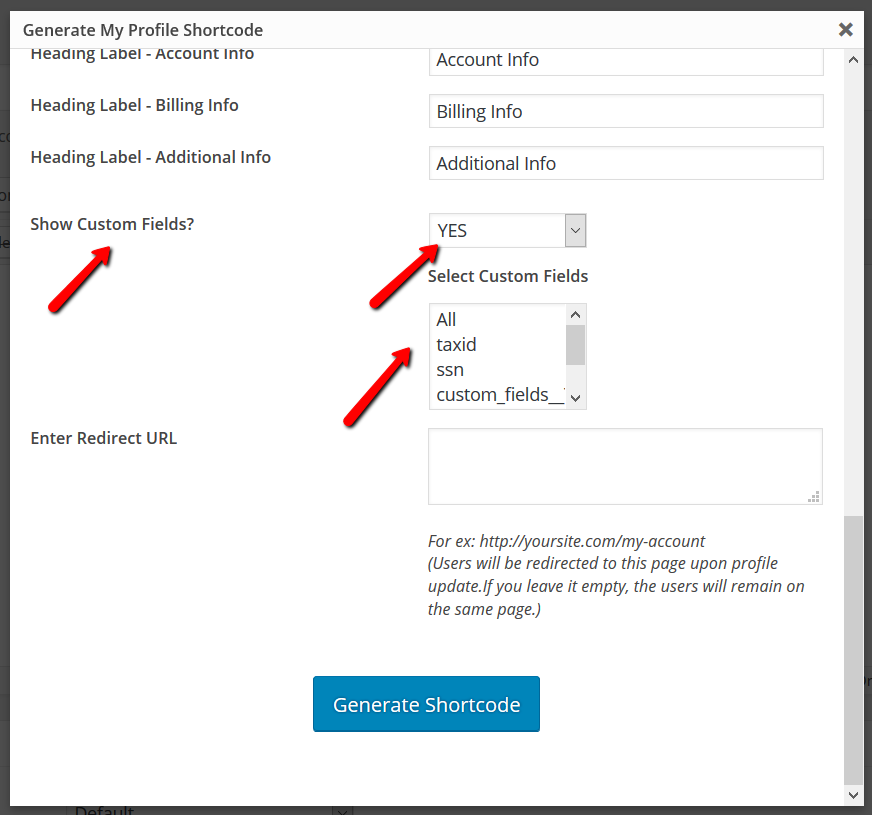
6. If you enter a “Redirect URL” in the editor , your members will be redirected to that page after they update their profile.
If not, they will remain on the same page.
7. Click on the “Generate Shortcode” button to generate the [DAPMyProfile] shortcode.
8. You can now publish the page.
Say you’ve already created a parent page called “Members” or “Member-Home” or “My Account”, you can just add the newly created “My Profile” page as a sub-page under the parent.
How-to organize your Member Pages
Please refer this documentation for more details on how-to organize your member-facing pages.