Creating Member Profile, My Content & Affiliate Sections within WordPress
Creating Your “Member’s Area”
DAP has 4 main Member-facing pages (the rest of your content is all standard WordPress pages and posts and categories, along with your media – like Videos, PDF reports, etc.):
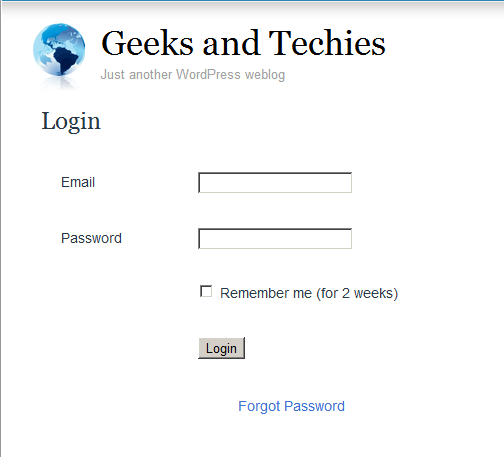
- Login page: This is where your members would log in at. (You, the DAP Admin don’t have to log in from here – you can log in to DAP admin when you log in to the WordPress admin dashboard.) This member login page can be either a stand-alone log in page (if you put the tag on a separate page), or it can be a a login form on the sidebar (that turns in to a logout button once they log in).
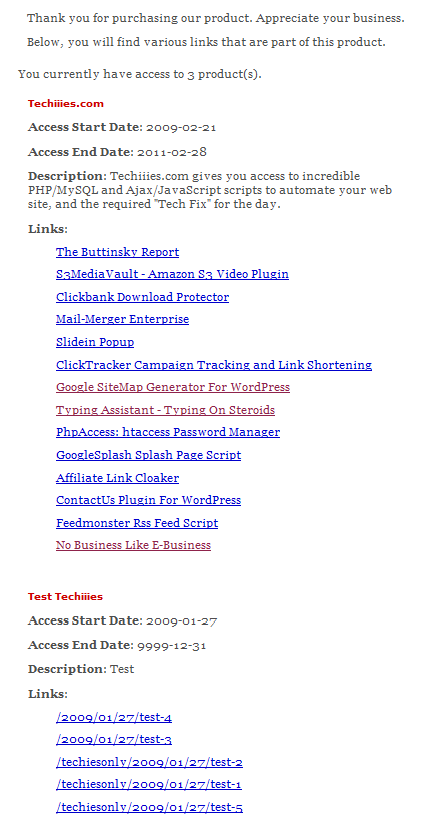
- My Content: This section shows all the products that the member has purchased or signed up for. This is the page that shows the links newly appearing as and when they are dripped on the member.
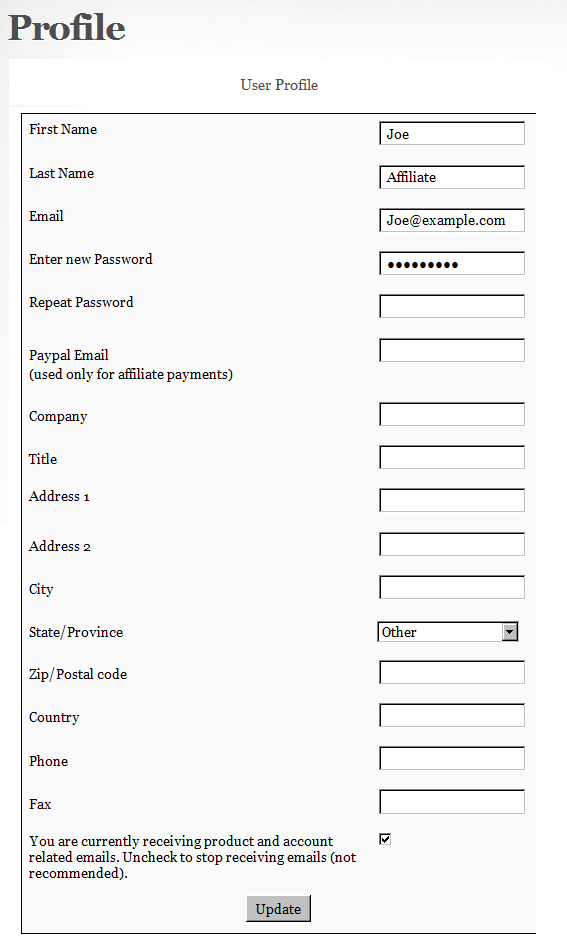
- My Profile: This shows all of the user profile fields – like first name, last name, email, password, address, etc. They can change all of their contact information on this page.
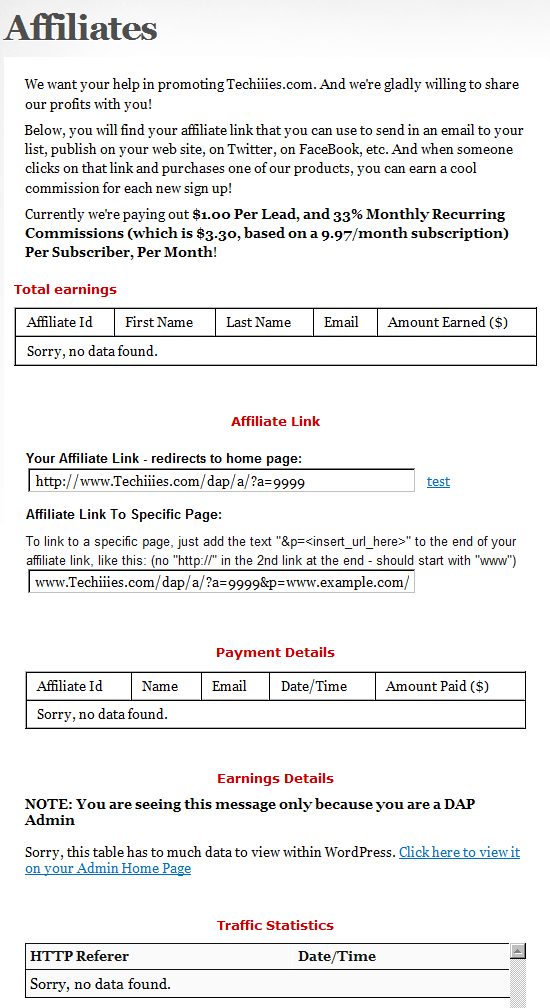
- Affiliate Info: This shows members their own personalized affiliate link, their link-referral stats, commissions earned, commissions paid, etc. If you want to make this page even more useful, you can add banners and emails and promo copy that the affiliate can simply copy/paste and send to their list.
So basically, only 4 “member” pages as far as DAP is concerned.
And all of these can be created right within your WordPress site, within a WP Page, so that they take on the exact same look & feel as your web site.
- “Login” page: Use [DAPLoginForm] (responsive)
(used to be %%LOGIN_FORM%%) - “My Content” (shows the user’s own products): Use [DAPMyContent] (responsive)
(instead of the old [DAPUserLinks] or %%USERLINKS%%) - “My Profile” (username/password): Use [DAPUserProfile] (responsive version coming soon)
(used to be %%USERPROFILE%%) - “Affiliate Info” Section: Use %%AFFDETAILS%% (responsive version coming soon)
Login Page within WordPress
Now DAP already provides you with a built-in, out-of-the-box login form, at YourSite.com/dap/login.php . But if you want to put this form “within” your WordPress blog, so as to give your login form the same Look & Feel as the rest of your blog, then do this…
1) Create a WordPress Page (not “Post”) with the text [DAPLoginForm] in the body of the page, and a title of say, Login, and save the new page. If you used the text “Login” for the title, then the actual link to this page would be YourSite.com/blog/login
2) This page now shows up as “Login” along with the rest of your “pages” on your blog.
3) Go to DAP Admin > Setup > Config . Scroll down to the field Login URL.
In the text box, enter the full link to your login page from Step 1:
http://YourSite.com/blog/login/
Or if your blog is in the root, then…
http://YourSite.com/login
That’s it! When someone clicks on the “Login” link that now shows in your “Pages” menu, they will now see a nicely formatted login form.
Related: Where is the Logout Link?
Creating The Member’s Area
- “My Content” section – use the merge tag [DAPMyContent]
- “My Profile” (username/password) – merge tag [DAPUserProfile]
- “Affiliate Info” Section – merge tag %%AFFDETAILS%%
Create a separate page for each of the tags.
Creating a “My Content” Page within WordPress
This is the page that shows all of a member’s content details – like what products the user has purchased, what are the access start and end dates for that purchase, and all of the content within each product – all separately organized.
To create such a page, simply create a WordPress “Page” (not ‘post’) with the title “My Content” (for example) and within the body of the page, enter the text [DAPMyContent] and save the new page. Now if you visit the page, and you are logged in, it will show you something similar to the image below.
And if you gave this page the title of “My Content”, then the actual link to this page would be YourSite.com/blog/my-content/
Starting DAP 4.8, this tag generates a responsive template. See the full details at http://www.digitalaccesspass.com/blog/2015/03/responsive-login-templates/
Creating a “My Profile” Page within WordPress
This is the section that shows the user’s profile information, where they can change their name, email id, address and other details.
For this, create a WordPress Page (not ‘post’) with the text [DAPUserProfile] in the body of the page, and a title of say, User Profile (or) My Profile and save the new page.
If you used the text “User Profile” for the title, then the actual link to this page would be YourSite.com/blog/user-profile/

Creating an “My Affiliate Info” Page within WordPress
This is the page that shows your users their affiliate link (which is instantly created for them upon purchasing any product on your site), link clicks, referrer details, earnings and payments.
For this, create a WordPress Page (not ‘post’) with the text %%AFFDETAILS%% in the body of the page, and a title of say, Affiliate, and save the new page.
If you used the text “Affiliates” for the title, then the actual link to this page would be YourSite.com/blog/affiliates/
That’s it!
Now if you want to make the affiliate page more powerful by creating a “ready-made affiliate toolbox” for your affiliates, then see this: Creating an Affiliate Toolbox


