DAP Easy Installer – Installation and Upgrades
DAP can be installed like a regular WP plugin using the DAPEasyInstaller plugin.
This plugin supports both ‘new install’ as well as “upgrades”.
Minimum Requirement to use this plugin
1. Your access to DAP support / upgrades should be current. Click here to check if your access is current. If your access to dap support/upgrades has expired, you can renew it here to be able to use this plugin.
2. In your php.ini file, upload_max_filesize should be set to 32M or more. Please confirm this with your webhost support. They can update this setting – if needed.
3. The easy installer plugin does not work on some sites. It could be due to security plugins that prevent file uploads, file/folder permissions or php settings. If the easy installer plugin does not work on your site, you can use “ftp” to upload files. Details here.
Install or Upgrade DAP
It will take you just a minute or two to :
1) Complete a brand NEW install of DAP OR
2) Upgrade DAP from one version to another
Here are the Steps:
1) Download the Easy Installer Plugin (version 2.x or above) from your members area to your desktop.
Also, note down your DAP license key. You will find it in your members area.
2) Login to your WordPress Admin Dashboard and upload the Easy Installer plugin via WP admin -> Plugin installer.
Activate the plugin.
3) After you activate this plugin, you will notice a new DAP Easy Installer Option under WP Admin -> Settings.
Click on WP Admin -> Settings -> DAP Easy Installer to get to the settings page.
4) Find your DAP license key in your members area on our site and enter it in the ‘Enter your license’ section in the settings page. Save the license and follow the instructions on the settings page to complete the install.
5) If your server meets the minimum requirement, you can proceed to STEP 2 on the settings page.
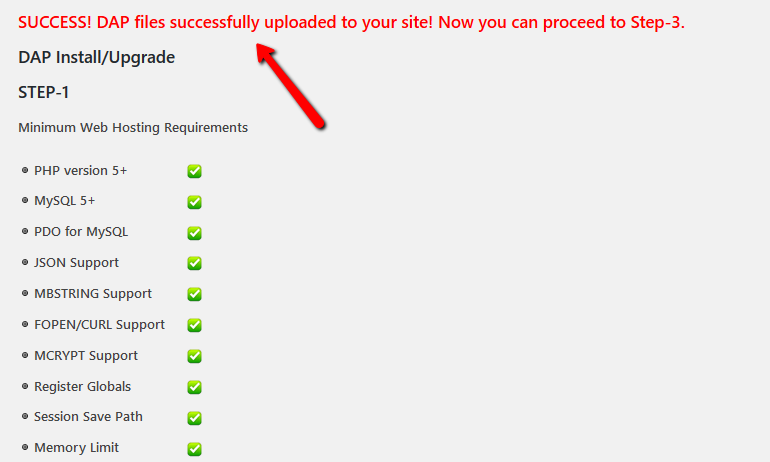
6) Click on Browse (step 2 in the settings page) to find the DAP zip file on your desktop and then click on upload. The files will get automatically uploaded to the root folder on your website.
If it works and is able to upload files to your server, it’ll display a “SUCCESS” message at the top on the page.
If you do not find any message, it’s likely that the upload didn’t work.
If you see the success message, go to the next step.
If not, then unfortunately you’ll have to use “FTP” or “File Manager” (in your webhost cpanel) to upload files. On some servers, the file upload does not work due to permission issues or file/folder ownership issues. You can’t use easy installer on these servers. Click here for detailed instructions.
Please Note: If you are a NEW DAP member or if you’re a DAP Platinum/Monthly member, we offer DAP installation for FREE. Please open a support ticket and we’ll install it for you.
7) Now move to step 3 in the easy installer settings page. Click on “browse” to find the DAPLiveLinks zip file on your desktop and then click on upload.
8) After the DAPLiveLinks plugin is uploaded successfully, visit WP admin -> plugins page. Look for DigitalAccessPass LiveLinks and activate it.
This will complete DAP installation on your site.
After the installation is complete, you’ll find a new DigitalAccessPass link in the left sidebar of your WordPress admin panel. Click on that to access your DAP Admin Dashboard.
You’ll have to enter your DAP license key in DAP Admin Dashboard => Setup => Config page -> License Key field to get started. You can get your DAP license key from your member’s area on our site.
9) ONLY REQUIRED FOR NEW INSTALLS:
If you go back to the settings page, the step 4 will give you the entire ‘cron command’. Copy it and then login to your Webhost Cpanel -> Cron tab -> and enter this cron command. Set it up to run once every hour at the top of the hour. If you do not know how to find the cron tab, please contact your webhosting provider or open a support ticket and we will set it up it for you.
If you’re looking for the old way (using ftp) to install DAP, click here.